One of the most important things while working with python is to setup a correct environment for development. If you do not do that, many issues may appear once the development is finished and the library usage is not clear. Furthermore, depending on the development and in a sharing environment, different versions of the same library might be required. To avoid such types of issues it is always a good practise to setup a virtual environment while working with python.
A virtual environment is a specific Python installation that includes an additional number of packages. It is self-contained in a directory making it independent from the existing system version. Therefore, installed packages in the virtual environment will not be available in the system version and vice versa.
Within this post I will explain how to setup a virtual environment for python 3 using venv. This tutorial is meant to be used in an ubuntu server.
1. Check whether you have python installed
In case it is not installed, install it using the Advanced Packaging Tool (APT).
2. Install venv
Once python is up and running, the next step is to install the venv tool to create the virtual environment. This can be done again using the APT.
3. Set up the virtual environment
The python environment needs to be initialised in a folder specified by the user. In this sense, I always initialise it in the same folder I use to store the python development files.
Once the environment is set up, you can find the python installation under “/path_to_new_virtual_environment/python/bin/”. Therefore, executing a python program or installing a package is as simple as calling it from the virtual environment installation. In my case, I just include “!./python/bin/python” at the beginning of the main python file to use it by default.
4. Using pip from the virtual environment
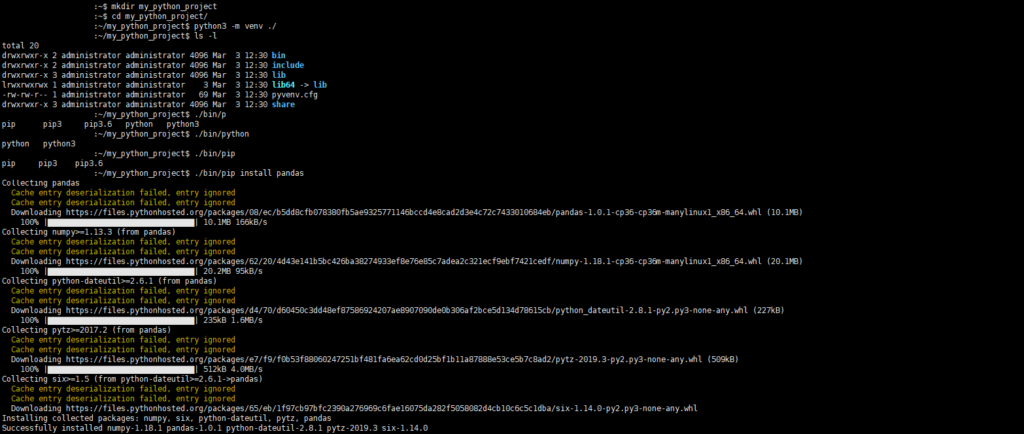
Once the virtual environment is ready, using this venv to install packages is as simple as calling the newly created pip environment as shown as follows.


